

Digitize your hand calculations (This is how I do many design verifications)
Step-by-step tutorial showing how to use Maple Flow - episode sponsor Maplesoft.

Hi friends,
The first time I saw somebody use software to do hand calculations, I was blown away.
Everything was digital, it looked nice and every time you changed a value of a parameter like for example the width of your beam cross-section, the whole design calculation was updated within seconds.
With paper and pen, this takes at least a couple of minutes.
This aha-moment happened in the 1st week of my masters at DTU, and I haven’t done a design calculation with paper and pen since then. And if you have been following me for a while, you know that I am the biggest fan of digital hand calculations.
That’s why I am very happy and proud to share that Maplesoft reached out to me to sponsor the Structural Basics newsletter.
As a Structural Basics reader, you also get a special deal. You get a 1-month free trial, instead of 14 days, if you sign up with this link:
Download link for Maple Flow: For your extended-length trial, visit https://www.maplesoft.com/fulfillment/ and enter coupon code SBFLOWPRO (code valid up to JUN 1, 2025).
Special for students: If you are enrolled in a university and like the software, you can also get a Maple Flow standard license (lifetime – no expiry) for only 150 euro → here ←.
I am very happy about this partnership, because I truly believe that every structural engineer and student should be using a digital hand calculation software like Maple Flow. It speeds up your hand calculations, you make fewer mistakes, your colleagues actually understand your calcs because the formulas are not hidden like in Excel, and it’s much cleaner for your reports.
So, in this article, I’ll show you how to get started with Maple Flow and all the main features you need to create your first calculation report.
1. Installation of Maple Flow
When you sign up, you will get a download link and a license code in the email.
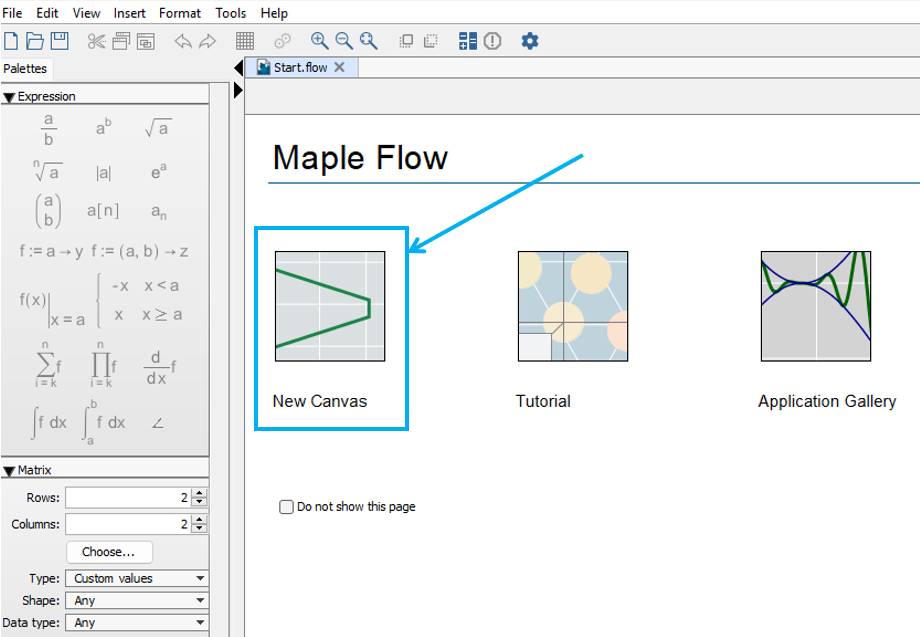
Once it is installed you can try out the Tutorials or, like me, if you wanted to get started straight away, click on New Canvas to get started.
2. The user interface
If this is the first time that you are using a hand calculation software, you might be overwhelmed. But trust me, it doesn’t take too long to get used to the user interface. It’s very intuitive.
In case you have used Mathcad or Smath before, you will notice that Maple Flow is very similar.
There are a couple of toolbars and palettes, as you can see from the picture below.

Main Toolbar
In the main toolbar you find features like Save, Save As, Undo the last operation, Turn the grid on, zoom in, zoom out, etc. Features you know from other software programs.
Palettes
In the palettes, you find all the tools you need for your calculations and documentation - Greek letters, units, matrices and more advanced mathematical expressions like integrals, sums, etc.
If you are more advanced, you know shortcuts for Greek letters and mathematical expressions, which speed up your workflow. I’ll show you how later in this article.
Context Toolbar
The context toolbar only appears if you click on text or an equation. It lets you change the font, font size, font colour, etc.
3. First equation
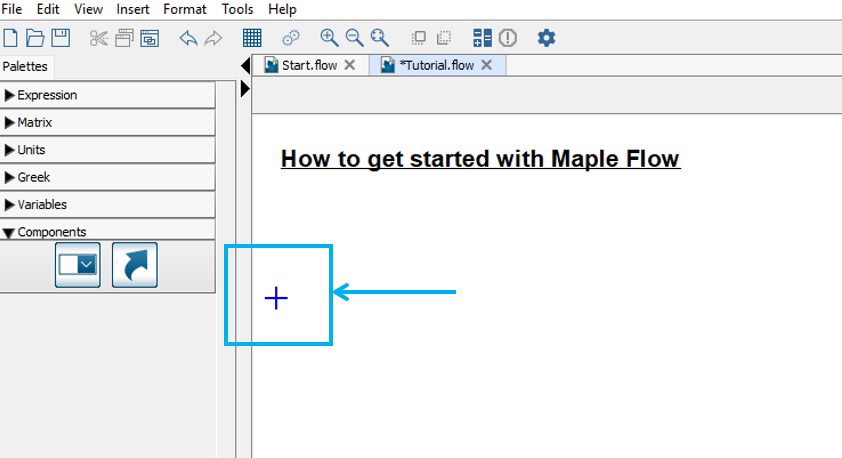
To “write” your first equation, simply click on the page/canvas so that you see a blue cross.
Then start typing. Let’s say we want to calculate 3 + 4 = 7.
Type in 3+4 and hit the “=” sign on your keyboard. You then should get your first result of 7.

4. Equations with variables
The power of digital hand calculation tools like Maple Flow is that you can use variables which can quickly be changed.
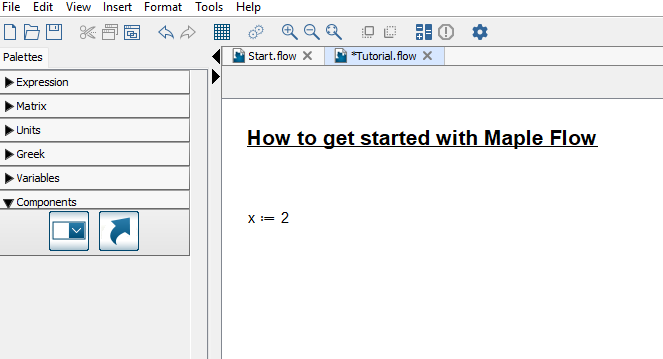
Define a variable: Type in a letter of choice and type in “:=” in your formula.
Next, type in a number of choice. This number is now stored in the variable.
To use the variable, we are calculating x + 6 = 8.
Type in “x + 6 =” and it will automatically calculate 2 + 6 = 8.

Now, change the value of x to 3 and the second equation will automatically update the result.

After you define a Variable, you can see a list of the values in the Variables Palette on the left – and this is updated for the location of the cursor, you won’t lose track of those you have already entered.

5. Units
Maple Flow can work with units. There are 2 ways to use units.
You can insert a unit from the palette “Units”
Or use the shortcut “Ctrl” + “Shift” + “u” + symbol of the unit (e.g. meter = m)
Let’s try to add 3 m with 4 m.
First, type in “3”, then select m from the length section of the Units palette.

Next, type in “+ 4” + “Ctrl” + “Shift” + “u” + “m” + “=” to use the shortcut. If you did it correctly, you should see the result of 7m.

With Maple Flow, it is very easy to manage a mixture of units. For example, my rebar spacing might be given in millimetre, but in my final result I want to show my lap length result in m.
I can change the result by clicking on the result unit, so it goes blue and overtype with the new unit “mm”. I can even use “mil” for thousandths of an inch!

6. Greek letters
In structural engineering, Greek letters are used all the time to define and store values.
So let’s have a look at how we do that in Maple Flow, and also how we can speed up things with shortcuts.
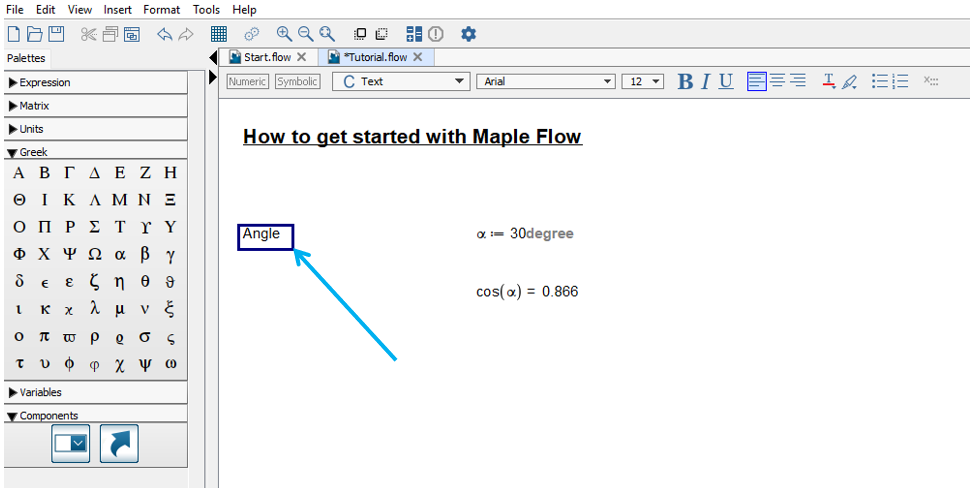
As always, first click somewhere on the page. Then we can pick a Greek letter of choice from the palette on the left side of the UI.

We are selecting α and typing further “:=30” → “Ctrl” + “Shift” + “u” → “degree”.

Now, we can calculate cos(α) by typing “cos(α)=”.

Shortcut for Greek letters
To speed up the process of calculating with Greek letters, there are shortcuts which we cover now.
By typing “a” → “Ctrl + g” Maple Flow automatically creates the letter α.
This works for all Greek letters. In general, those shortcuts work as
latin letter → “Ctrl + g”
(Control & g click at the same time)
7. Add text
Adding text is essential for improving the readability of a Maple Flow sheet. Especially if you use it in your structural documentation.
To add text you simply click on “Space” on your keyboard. Now you get a blue box (green means that it’s an equation) and you can add a description of the variable as an example.
8. Subscripted variable names
Subscripted Variable names are a must-have in engineering calculations and reports.
To write Ecm (Secant modulus of elasticity of concrete) in Maple Flow, type in
“E” → “Ctrl + Shift + _” → “cm” → “:=33” → “Ctrl + Shift + u” → “MPa”
Or you can use two underscores to enter a subscript like
“E” → “__” → “cm” → “:=33” → “Ctrl + Shift + u” → “MPa”
Try it out, what you like more. I personally like the two underscores more, as it’s faster.

9. If - else function
If else functions are very useful to automate your calculation sheets, because Eurocode often defines different formulas for different ranges.
As an example is the coefficient related to the bar diameter η2 according to EN 1992-1-1 (8.2) which we calculated in the article about the anchorage length.

Let’s do this in Maple Flow. There are actually 2 ways to do an if-else function.
First, let’s define the parameter ds.

In solution 1, we write ifelse(“condition 1”, outcome if true, outcome if condition 1 is false). In our example this looks like the following.

In solution 2 we use the piecewise function from the Expression palette.

10. Document header and footer
To make the document look professional, headers and footers can be implemented in Maple Flow.
To include a header, click on Insert → Header Footer…

I like to add the logo, date, name, revision number, etc.


Now, if you click on Print or Print Preview, you can see the header and footer.

11. Export as PDF
It’s possible to save the file in Maple Flow format (.flow files) to continue editing, and then when you have it in final state you can export it as a PDF.
To export your first structural design document in Maple Flow as a PDF, click on:
File → Export As...
Final words
Congrats, you have now created your first PDF document with Maple Flow, which you can now attach to your Structural Design report.
As I said in the introduction, I am a big fan of tools like Maple Flow. I used them for all of my hand calculations in my master’s. You find mistakes much quicker than in a tool like Excel because you type in each formula and can check the result of each calculation step.
It’s also much easier for others to understand your calculations.
In my job as a structural engineer I also use digital hand calculation softwares every time, I need to do a verification which is not covered by the structural design packages that we have in the office. I personally never use Excel to do calculations from scratch.
I hope this helped some of you getting started with digital hand calculations.
Thank you, Maplesoft, for sponsoring this episode of the Structural Basics newsletter.
See you next Wednesday.
Let’s design better structures together,
Laurin.
P.S.: In case you missed the Maple Flow trial link, here’s another chance to claim your 1-month free trial with coupon code SBFLOWPRO and get started with digital hand calculations today.
Hi Lauren,
Thanks for sharing your knowledge and suggestions through posts and tutorials.
Besides MapleFlow, I propose trying CalcPad software (https://calcpad.eu/) and GitHub (https://github.com/Proektsoftbg/Calcpad).
CalcPad is free, open-source professional software for developing mathematical and engineering calculations. It features a simple programming language, automatic HTML report generation, input form creation, and unit measurement support, and it is available in both web-based and desktop versions.